


🚀 Ignite Your Coding Journey!
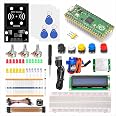
The OSOYOO Python Hardware Programming Learning Kit is an all-in-one educational toolkit designed for beginners eager to explore programming with the Raspberry Pi Pico. It includes a variety of components and comprehensive tutorials in multiple programming languages, making it an ideal choice for aspiring tech enthusiasts.


| RAM | LPDDR2 |
| Wireless Type | Bluetooth |
| Brand | OSOYOO |
| Series | Raspberry Pi Pico |
| Operating System | Linux |
| Item Weight | 13.1 ounces |
| Product Dimensions | 7.5 x 5.5 x 2 inches |
| Item Dimensions LxWxH | 7.5 x 5.5 x 2 inches |
| Processor Brand | Raspberry Pi |
| Number of Processors | 1 |
| Manufacturer | OSOYOO |
| ASIN | B09DKBD128 |
| Country of Origin | China |
| Date First Available | August 25, 2021 |
G**E
Very very nice kit!
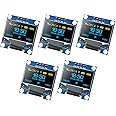
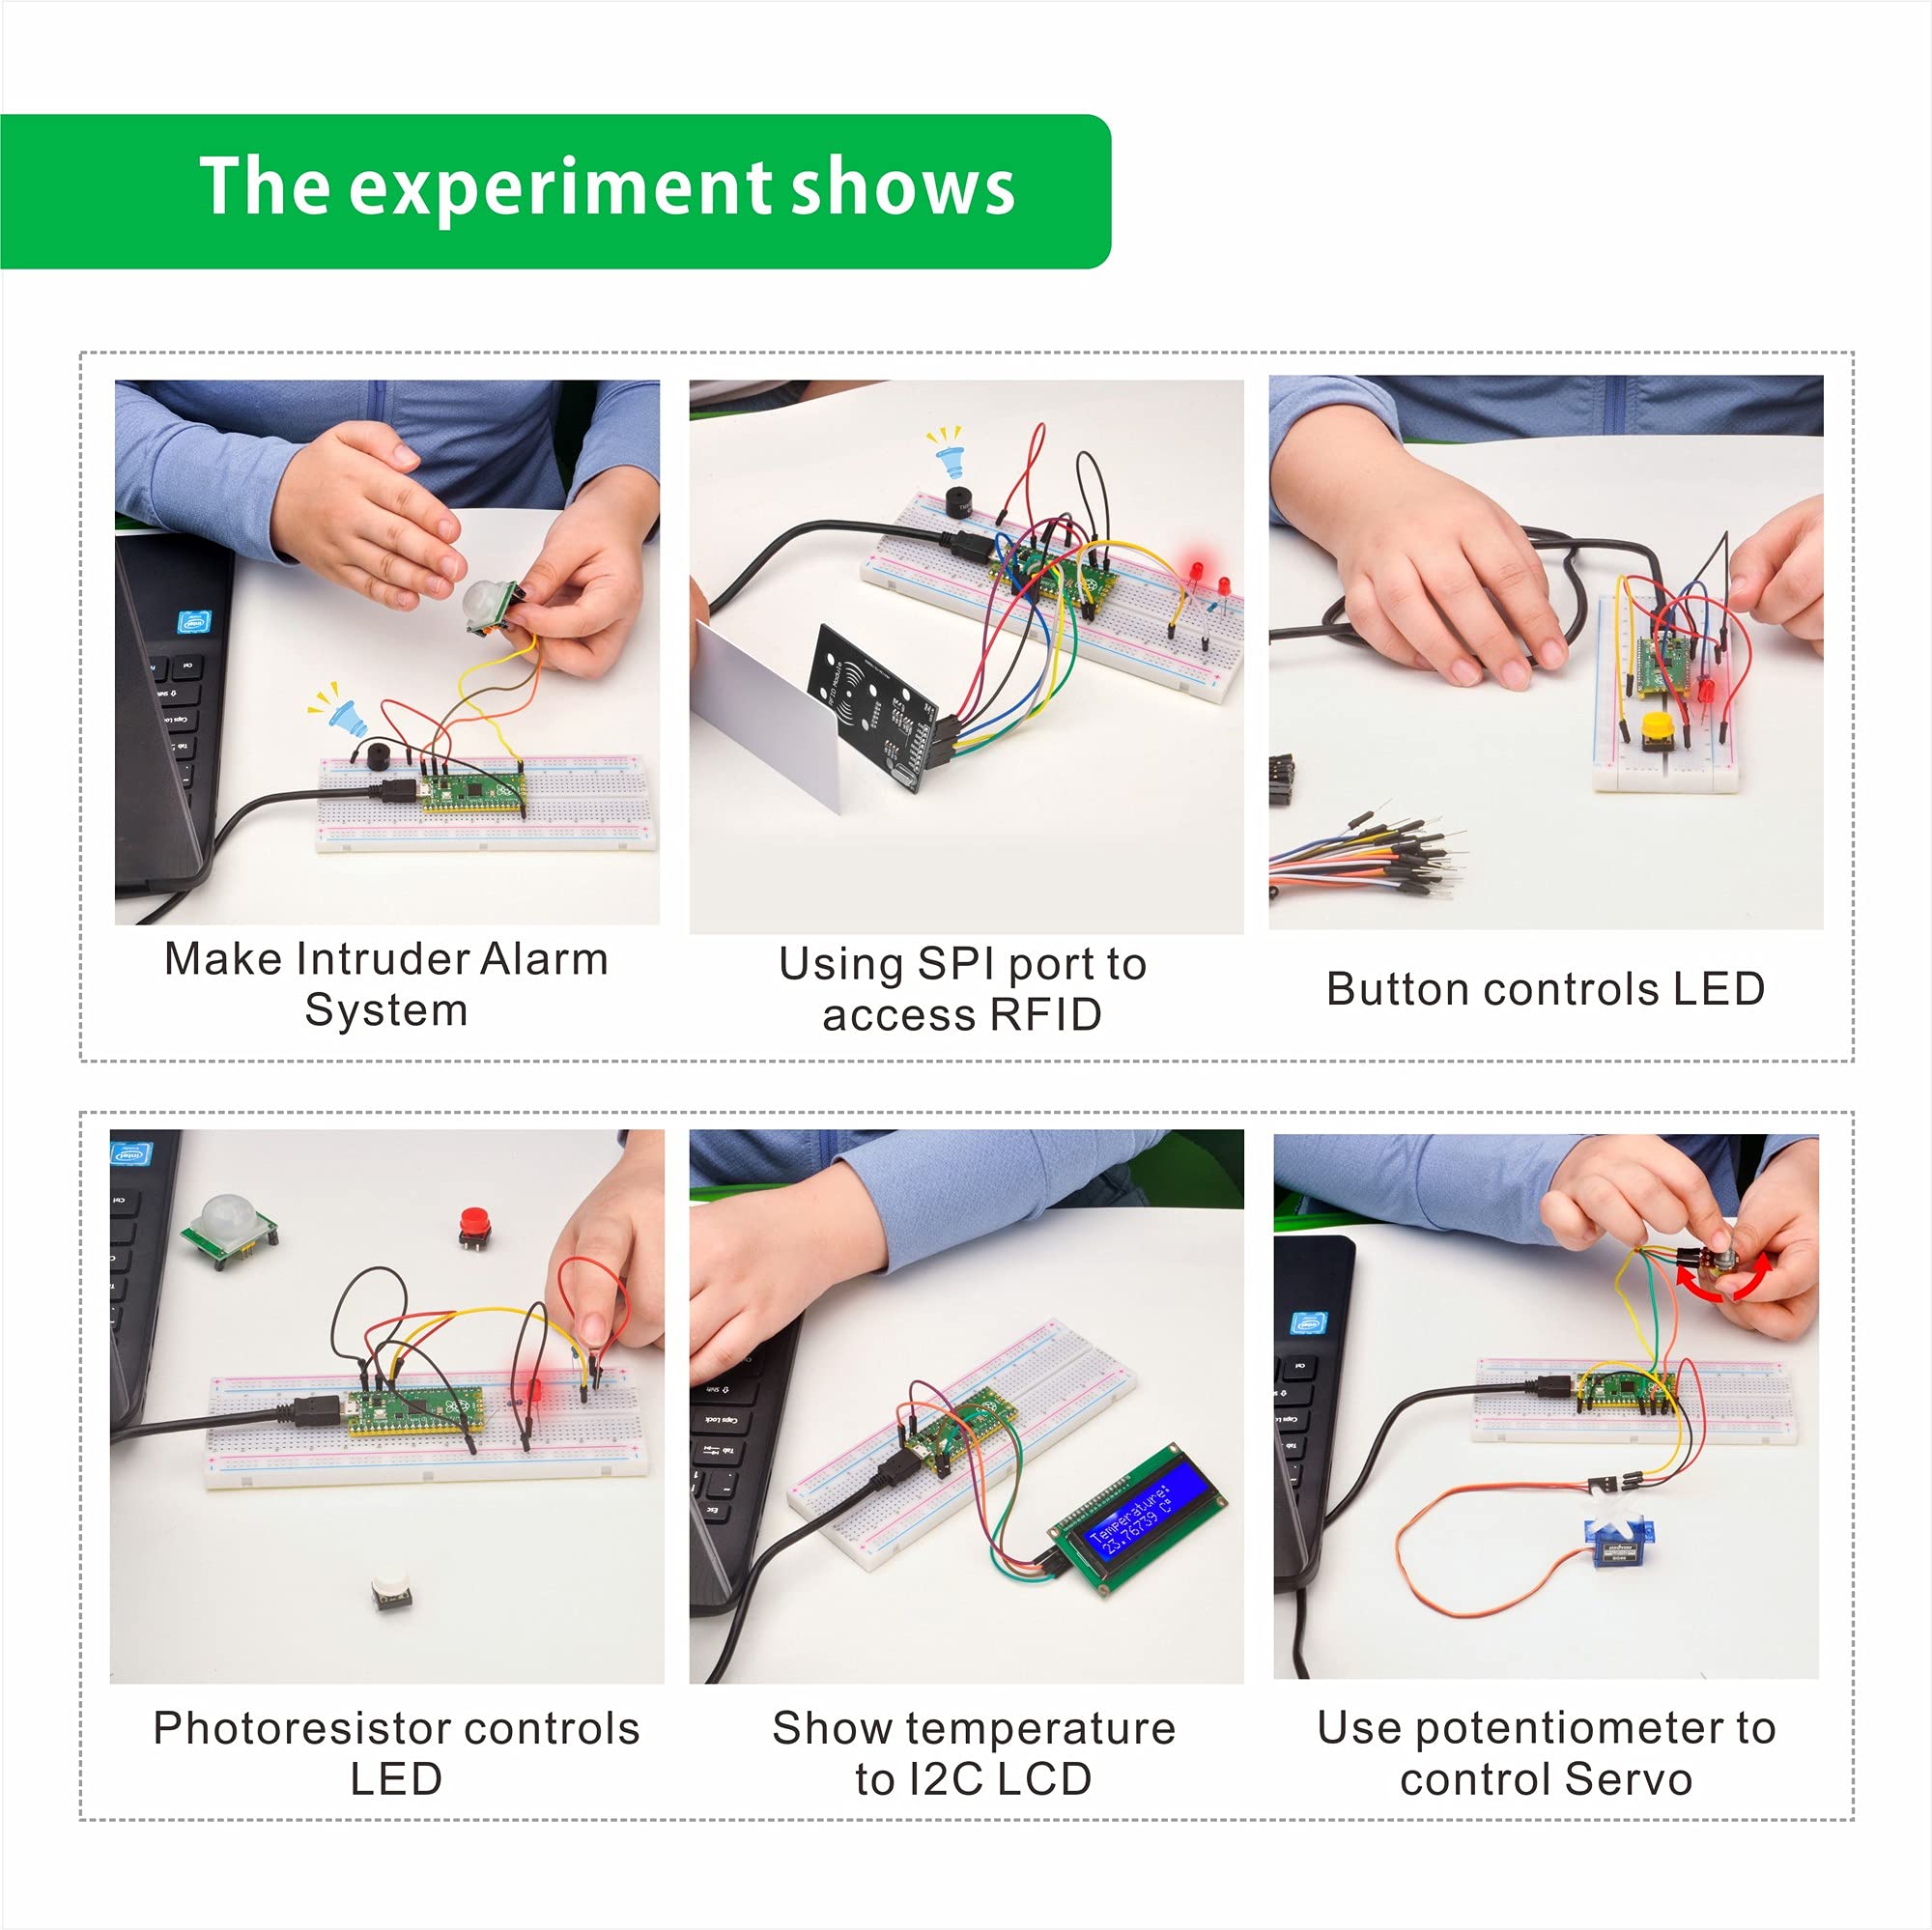
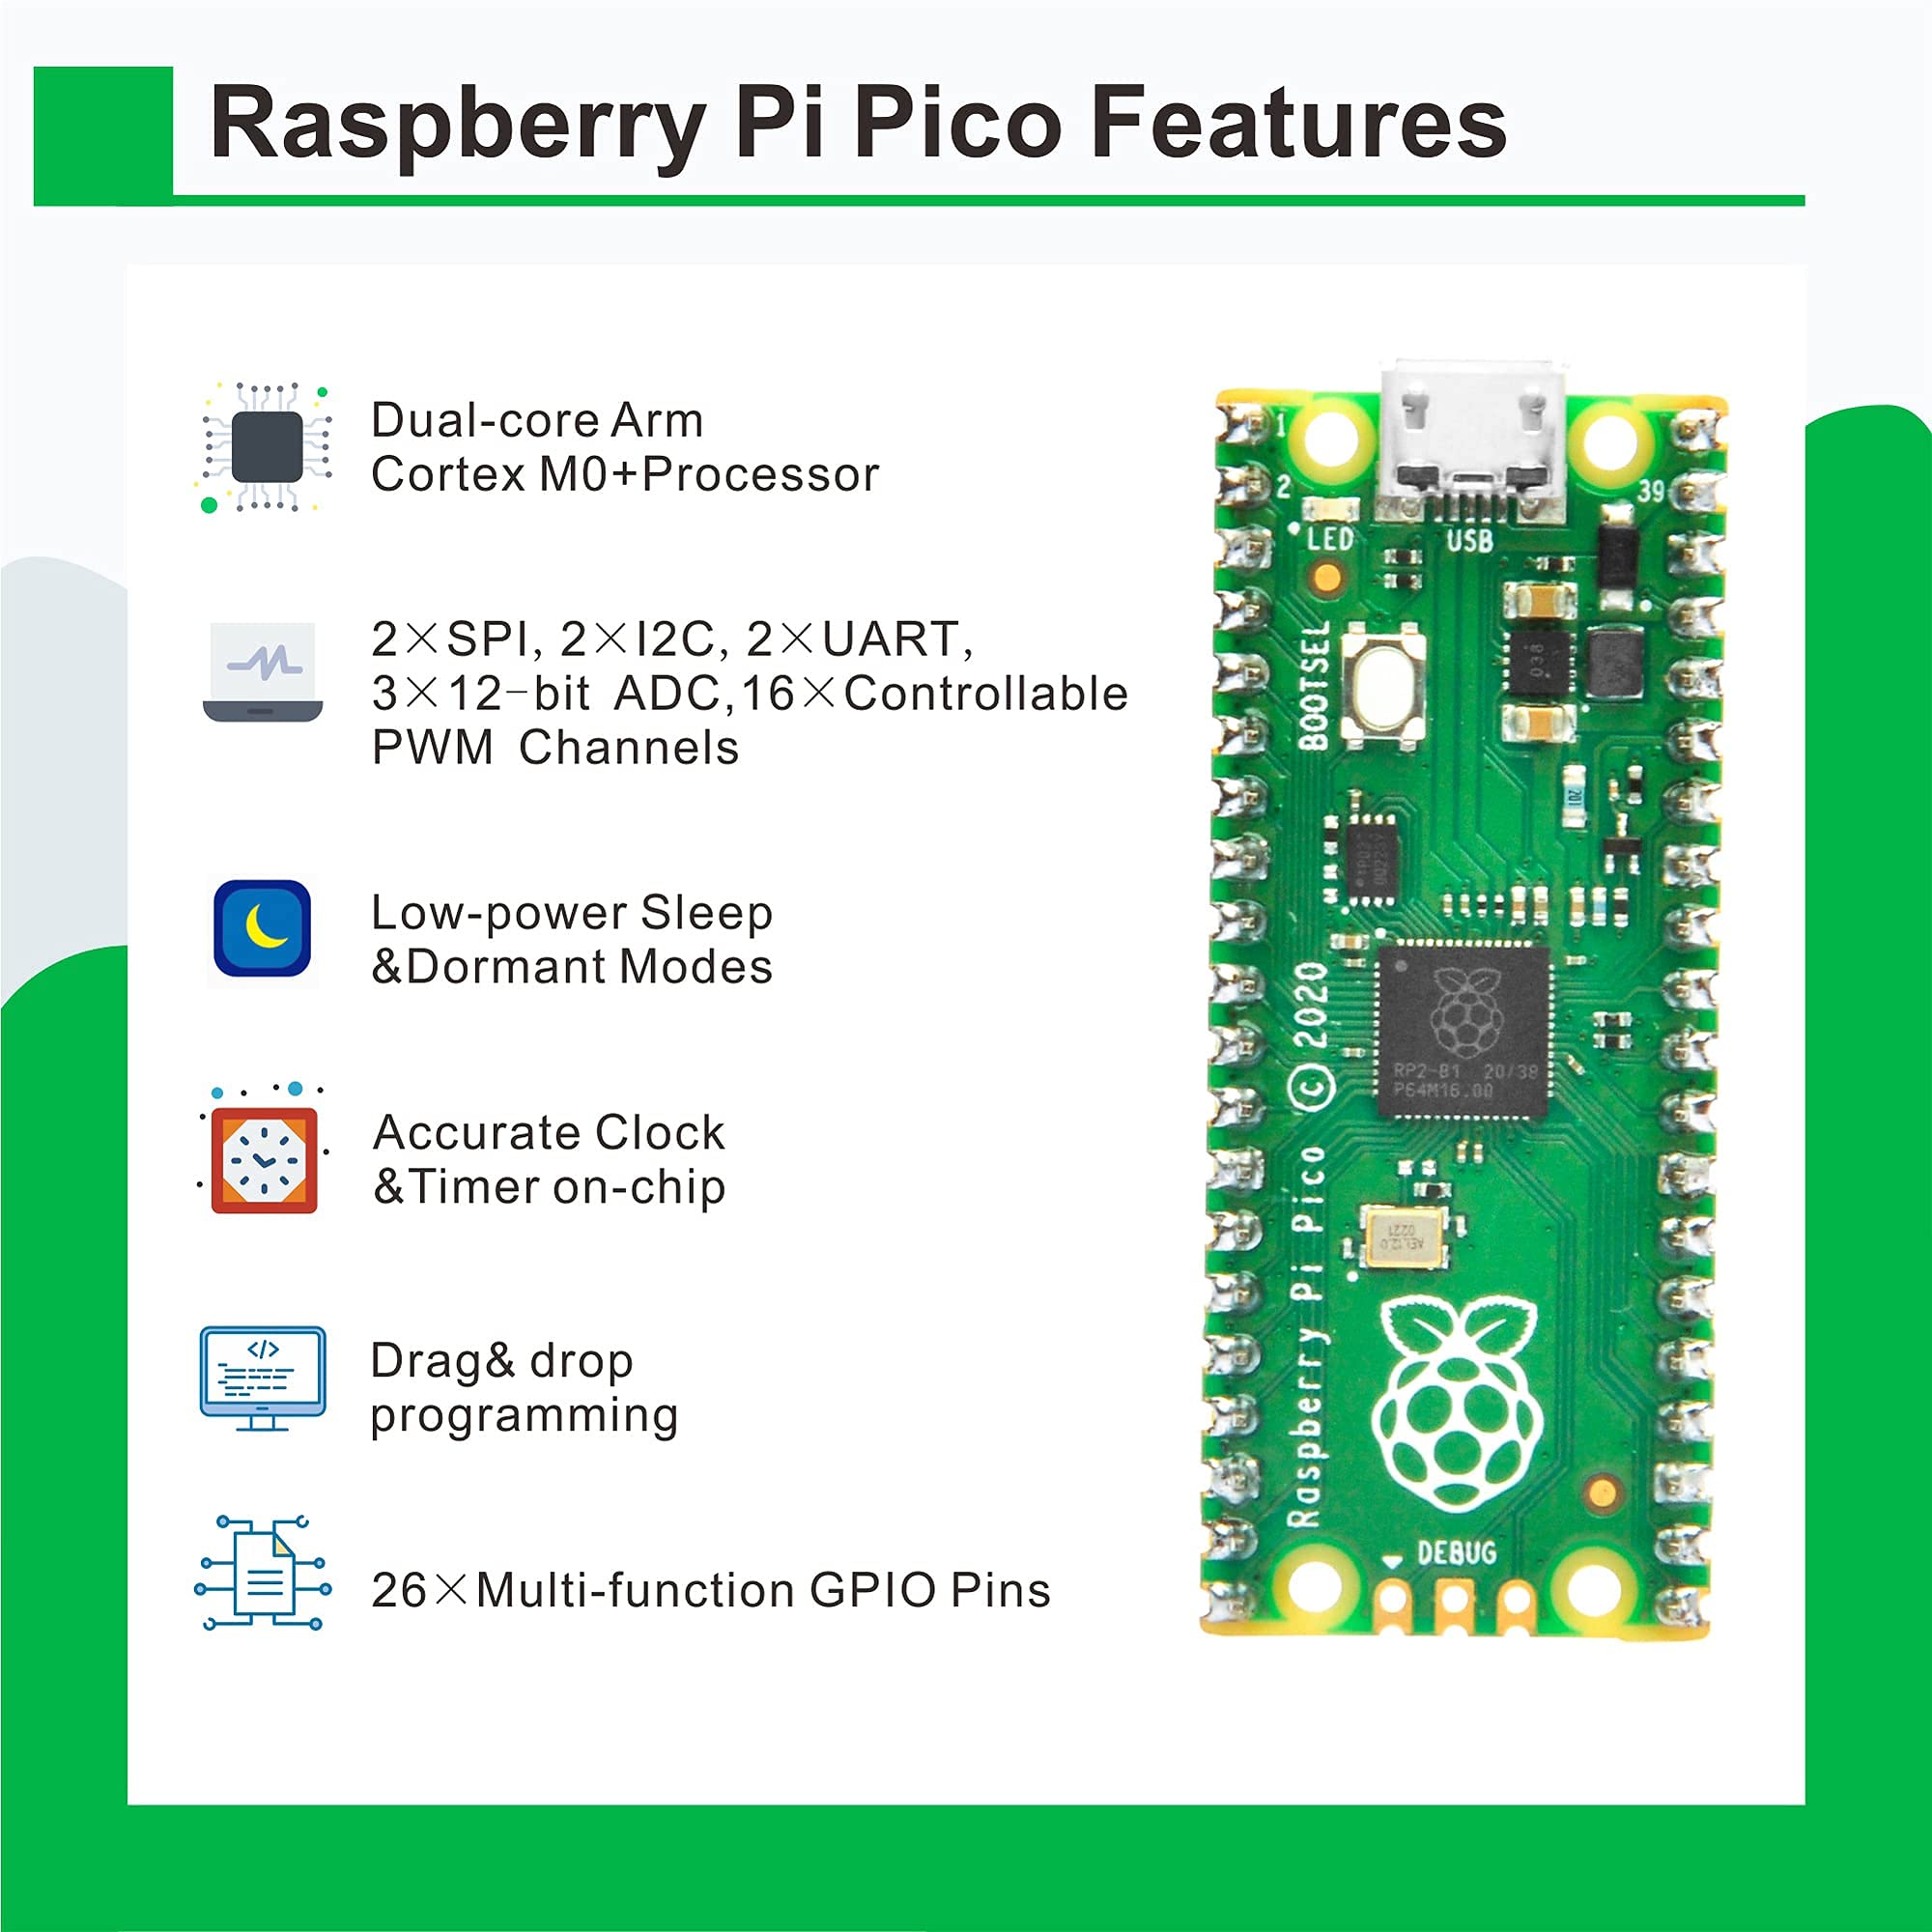
It includes a Pi Pico with the side headers pre-soldered on (they also give you a three pin header for the debugger connection that's not soldered on so it doesn't interfere with plugging it into a breadboard) along with a really nice collection of parts that you can do some pretty fun stuff with. There's a nice LCD display, an RFID reader module with a couple of RFID tags to play with, a bag full of resistors (with a color-code chart), a bunch of LEDs, photo sensors, a PID (infrared) motion detector to make a motion sensing alarm, a mini servo, POTs, five buttons, and a breadboard (with bundles of both male-to-male and male-to-female wires for hookup) and short USB A to micro cable, all nicely packed in anti-static bags in a small box. You just need a computer as everything else you need is included.The documentation and tutorials are all online (there's a booklet included in several languages that basically just points you to the web page to get started) but they're actually quite good. There are five or so microPython tutorials (using the cross-platform free Thonny IDE), an Arduino IDE setup example, and a few using the web based graphical Piper (Scratch-like) visual programming system that cover the same topics as the first few microPython tutorials. These are all interesting and easy to follow. There are YouTube videos for each one though they're made with a synthesized voice that I find annoying to listen to and you really don't need them as everything is covered in the text.Once you've worked through the few tutorials provided, you can explore on your own and they give you quite a few more parts than the tutorials use so when you want to do something with more LEDs or another potentiometer, or more buttons, you're already set.The Pi Pico and microPython are very deep and interesting systems that you can spend a lot of time exploring if you're so inclined. The Pi Pico sells for $4 (through the Pi foundation) so there's little worry if you manage to damage it somehow.This is one of the most complete "starter kits" I've seen with really quite good examples to get you started. I have come to have a much better appreciation for the RP2040 microcontroller of the Pi Pico and the microPython implementation for it. Great for anyone who likes to tinker.All the stars, recommended.
R**R
Thonny software (Mac) opens without headers for selecting com
As above
S**F
Good parts, some problems with lessons
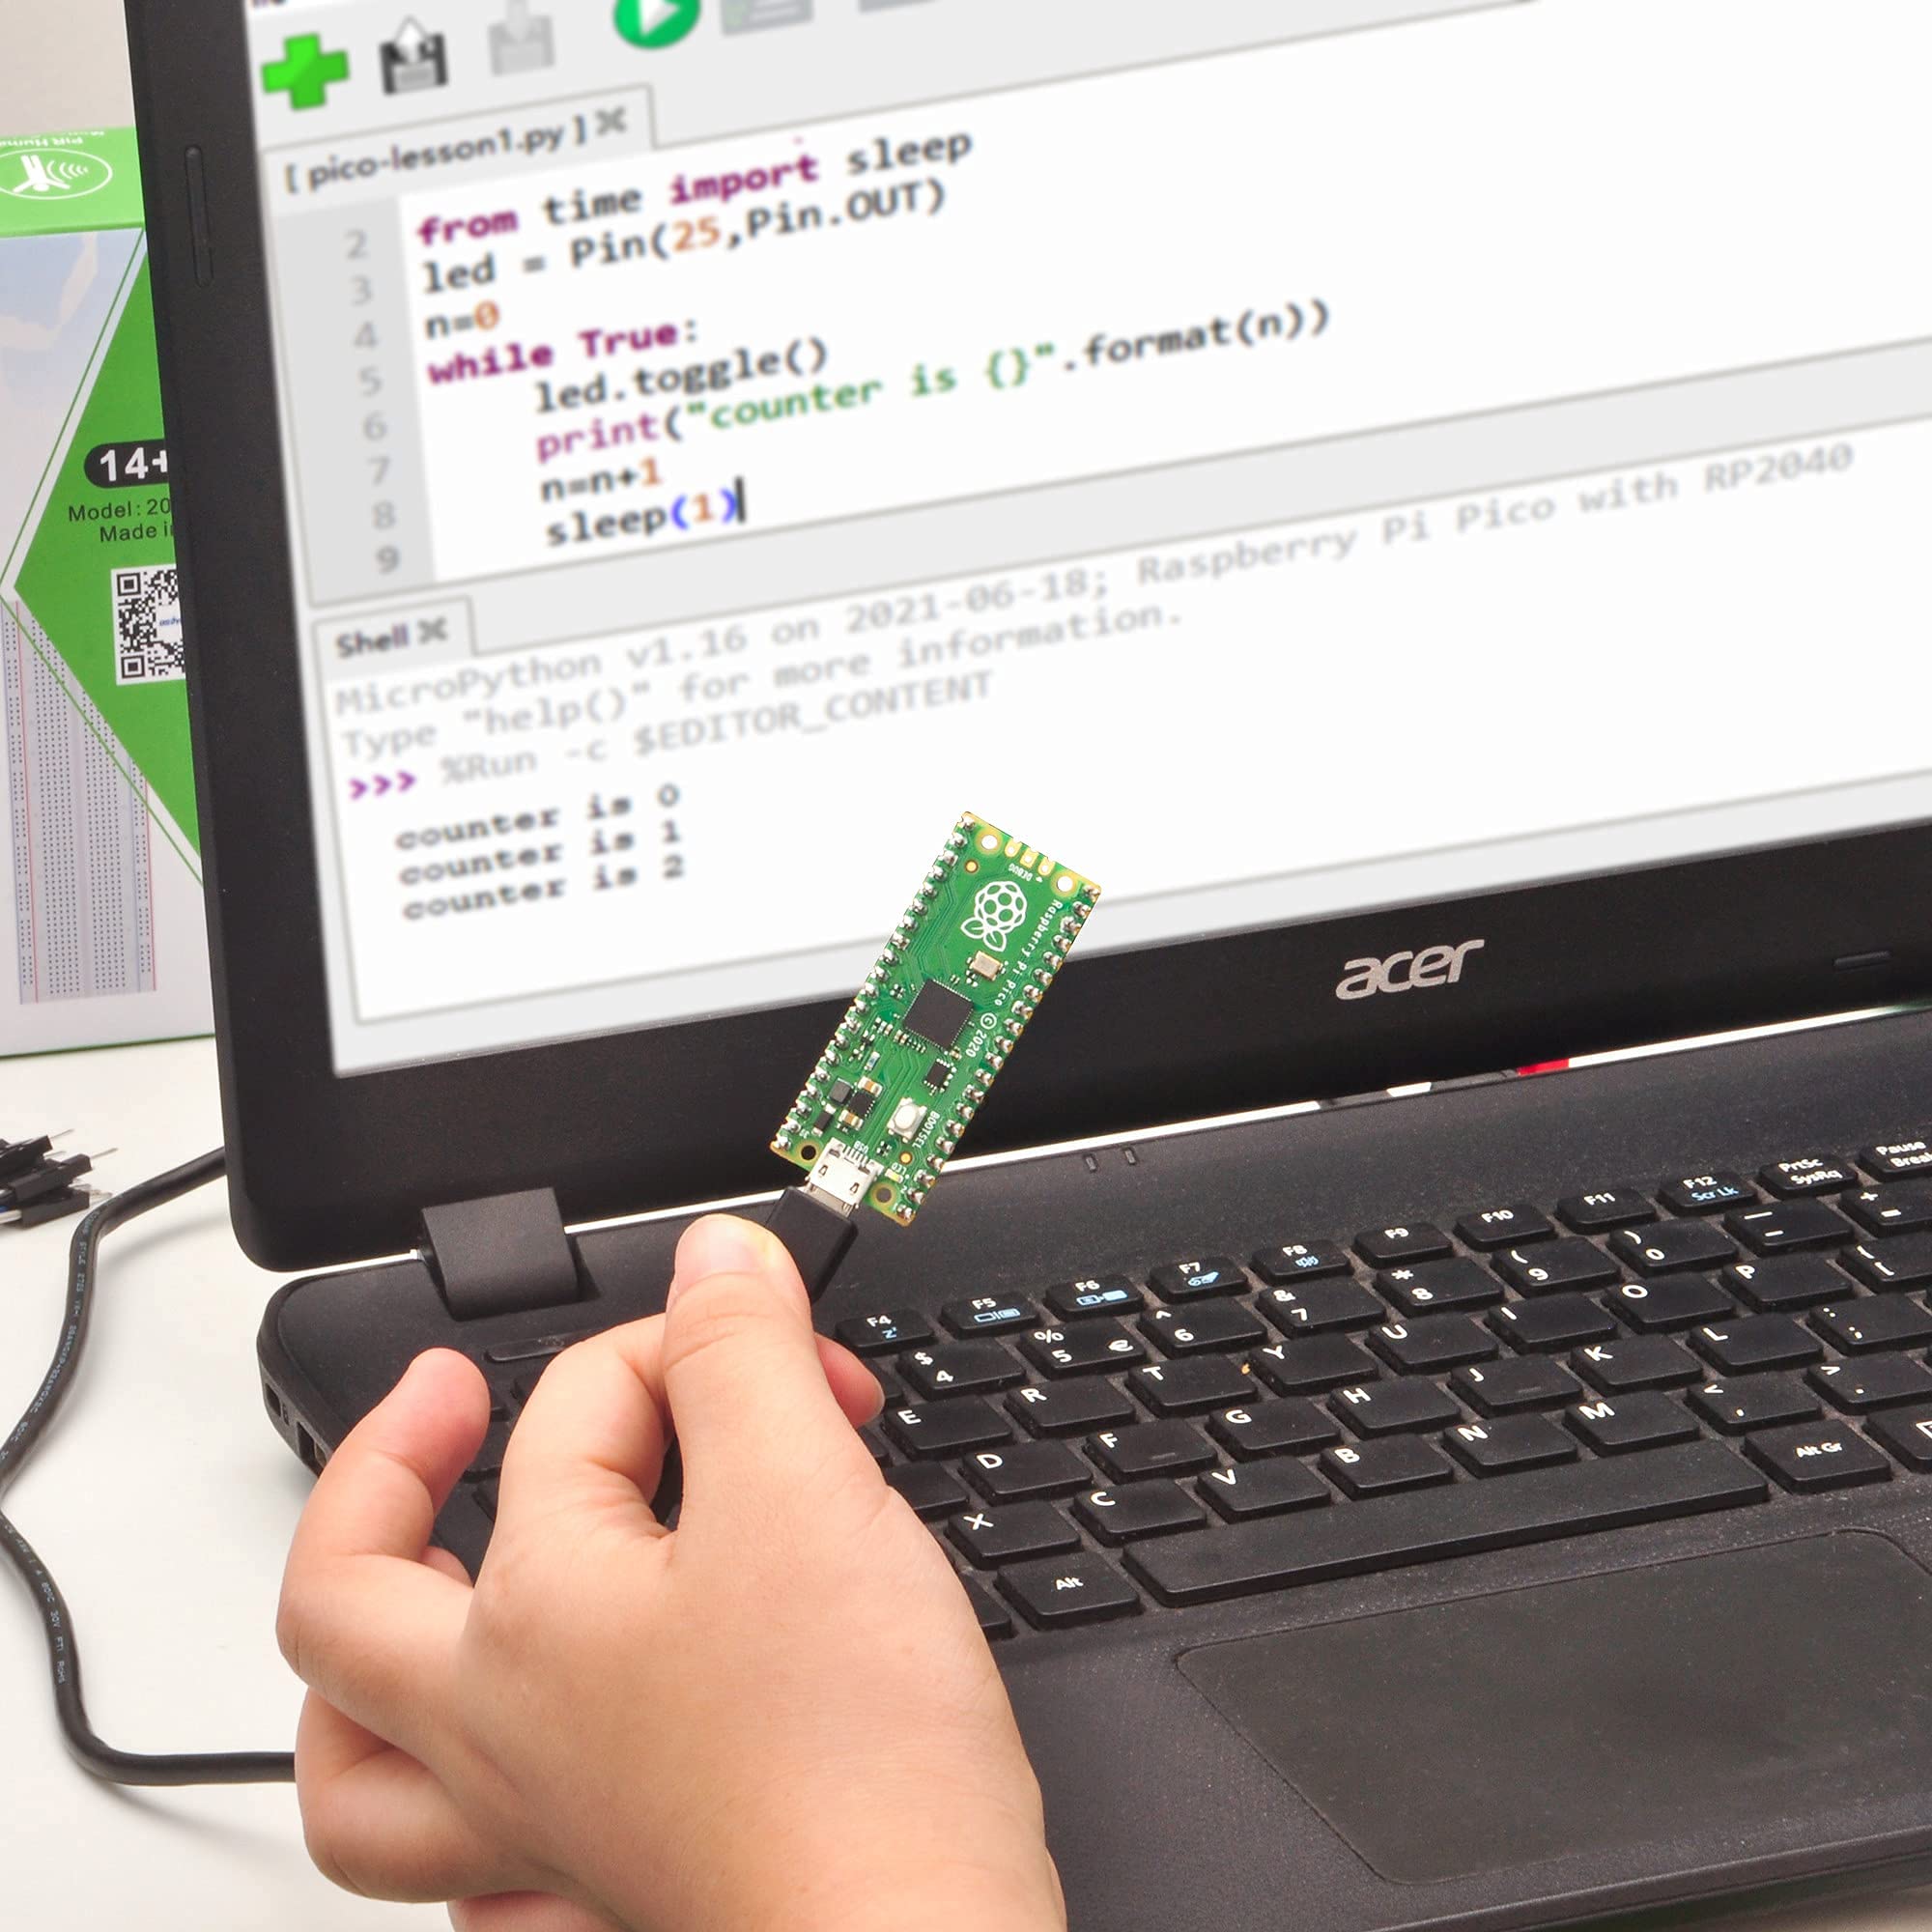
I used the written manual to evaluate this kit. There are 8 lessons and 8 videos for each lesson. I found that I didn’t have problems with loading the micropython firmware into the pico by dragging and dropping the firmware on the USB device. Thony was able to find it. I didn’t have any problem with entering the main program to flash the on board LED. I did have problems with stopping the main program. It stopped the text to the shell window, but the LED kept flashing. When I went to look at the code on the pico, it said that I needed to stop the program because the pico was busy. I tried all sorts of things get it to stop, none of which were reliable. At one point, I tried holding down the boot select button and connecting the pico USB again. I did get into the program stored on the pico one time and I was able to put in the code for lesson 7 and I was able to customize the code for two of the RFID tags and get it to work. I had a little trouble with the colored LEDs as the drawings showed them with leads attached to resistors and no polarity information about the LEDs. The signals to the LEDs from the pico go high when the program wants to light the light, so the cathode of the LED goes to ground and the signal from the pico is connected through a 200 Ohm to the anode.
Trustpilot
3 weeks ago
2 days ago